


In this article I’m going to cover what kit you might need if you were starting Sport Climbing. We’ve looked at basic climbing kit in a previous article so I wont go into detail on that here, but rest assured I’m sure what you’ve already got will be more than sufficient for moving to lead climbing at least initially! I’ll drop in any differences as we go along if it’s relevant.
There are lots of new skills to learn for sport climbing, such as lowering off, how to clip properly, what to do if your rope isn’t long enough and the climber can’t get to the ground! If you need any coaching, book on a course with an MCI like myself…
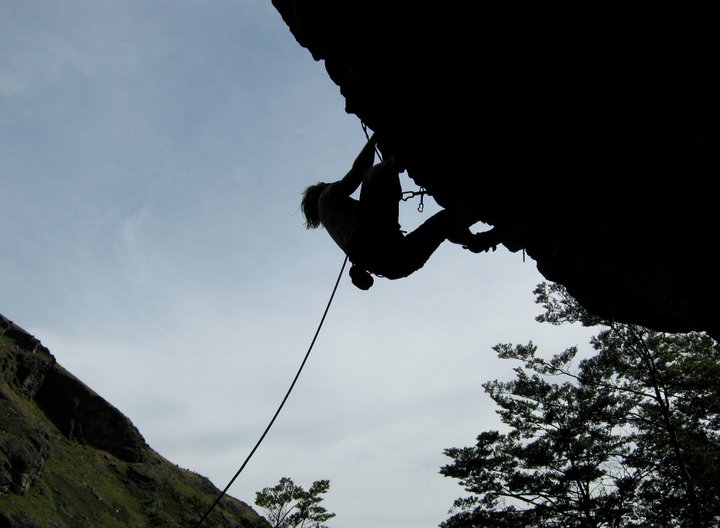
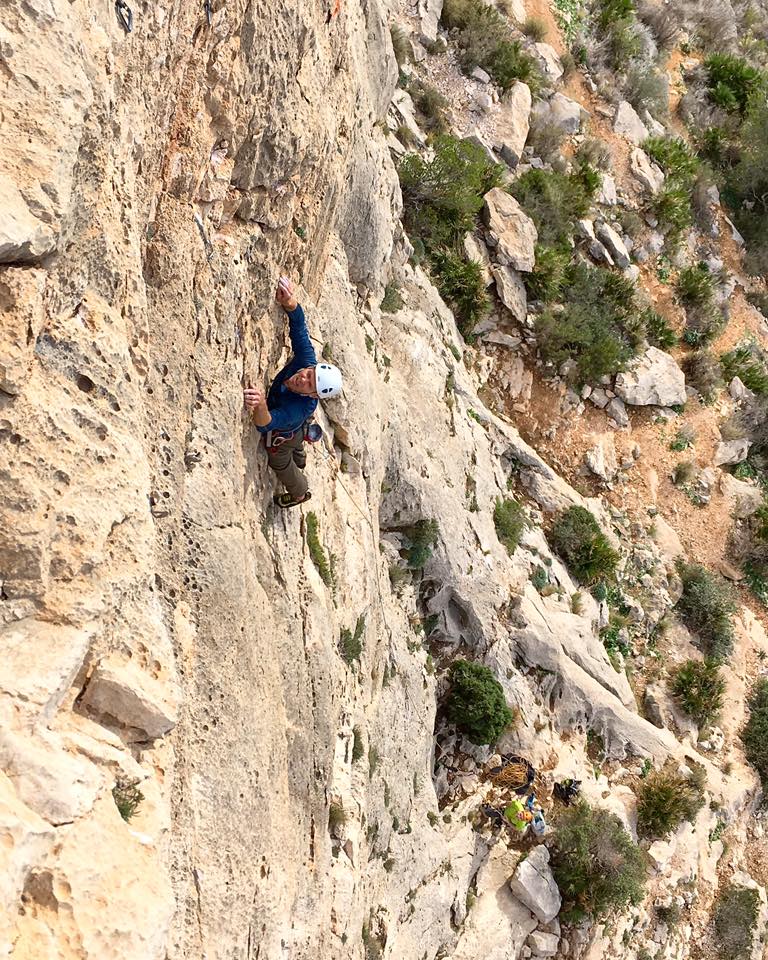
Sport Climbing – how would you get your quickdraws back on a steep route like this?!
There is a huge choice of belay devices out there, and some are pretty useful when it come to sport climbing. Your trusty old bug from the last article, will 100% do the job, and you certainly don’t need to replace it with another expensive bit of kit, but an “assisted breaking” device, such as the iconic Gri-Gri, can make your life easier. When someone is taking lots of falls, or resting lots on the rope (as seems to happen all too often when it’s me sport climbing!), the belayer may appreciate that little bit of help… (especially if the climber is as heavy as I am!) Now it’s super important to remember these devices, and there are lots out there, are NOT automatic fall holders – merely “assisted breaking” and have all been known to slip. So get amazing at using them properly, developing your skill as a belay doesn’t stop once you’ve learnt simply how to belay, and there are a whole host of new techniques and skills to learn. So borrow a mates Gri-Gri, check out the Click Up, the Mega Jul, The Eddy and the Smart – and see what works for you and learn all there is to know about your chosen device!
Your harness, so long as it has gear loops, will most likely still be perfectly serviceable, and will definitely do the job. Something to bear in mind if your really getting into it and pushing your grade, there are some superlight sport specific harnesses out there. If every little bit of weight loss counts for you, they have thinner tape, less buckles – but generally wont be amazing for other types of climbing due it being less adjustable and less durable.
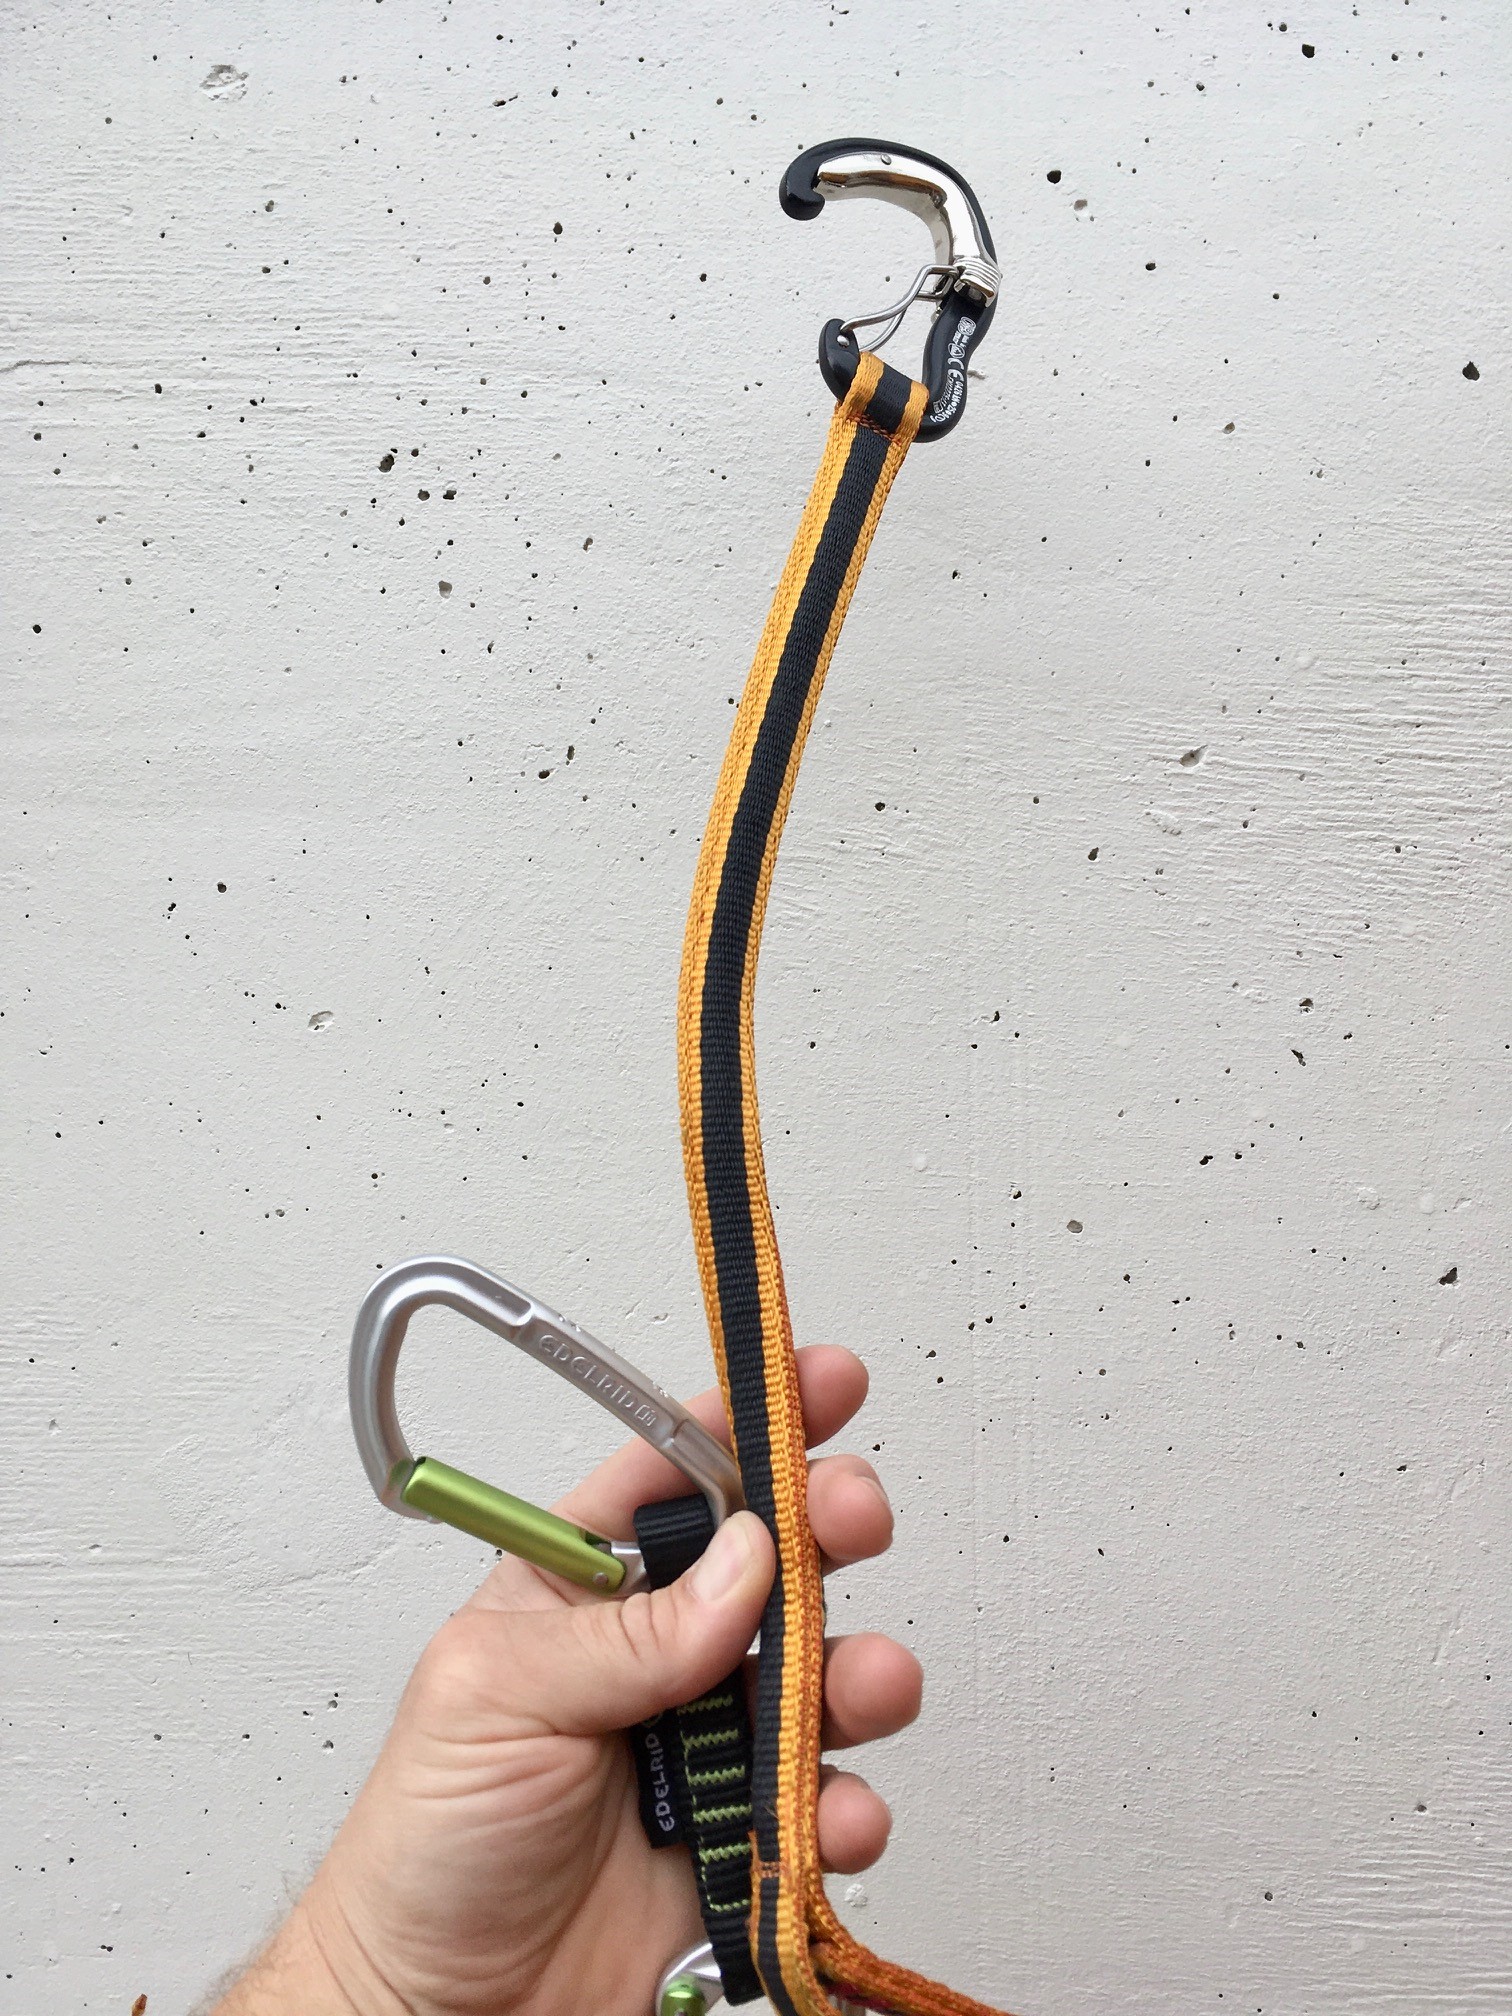
To go along side the harness, sport climbers often use something called a lanyard… There’s different options here and it can be a contentious subject – some people opting not to use one at all. If you want to discuss all the pro’s and con’s at length get in touch! I’ll touch in it a little here:
Traditionally a lanyard is length of sling attached to your harness to allow you to clip into a belay station or lower off and be attached via your harness immediately. With this set up, bear in mind that a sling has no shock absorbency in it, meaning that if you fell on it once its clipped into an anchor, it would at best hurt, at worse be catastrophic. They are designed to take a static load, and are simply for hanging on. Don’t EVER be in a fall situation clipped into the anchor directly by a sling. A lot of people will use this method, but there are newer (BETTER!) options out there.
So if you want a lanyard, why not use a length of dynamic rope, in a custom made set up like the Petzl Adjust Connect? Easy peasy to adjust, is dynamic – what’s not to like?!
Another option if you’re just going to lower off a single pitch route is to not bother with a lanyard at all and use the draws in an appropriate way. Different options for different situations – but use something dynamic and understand the system!
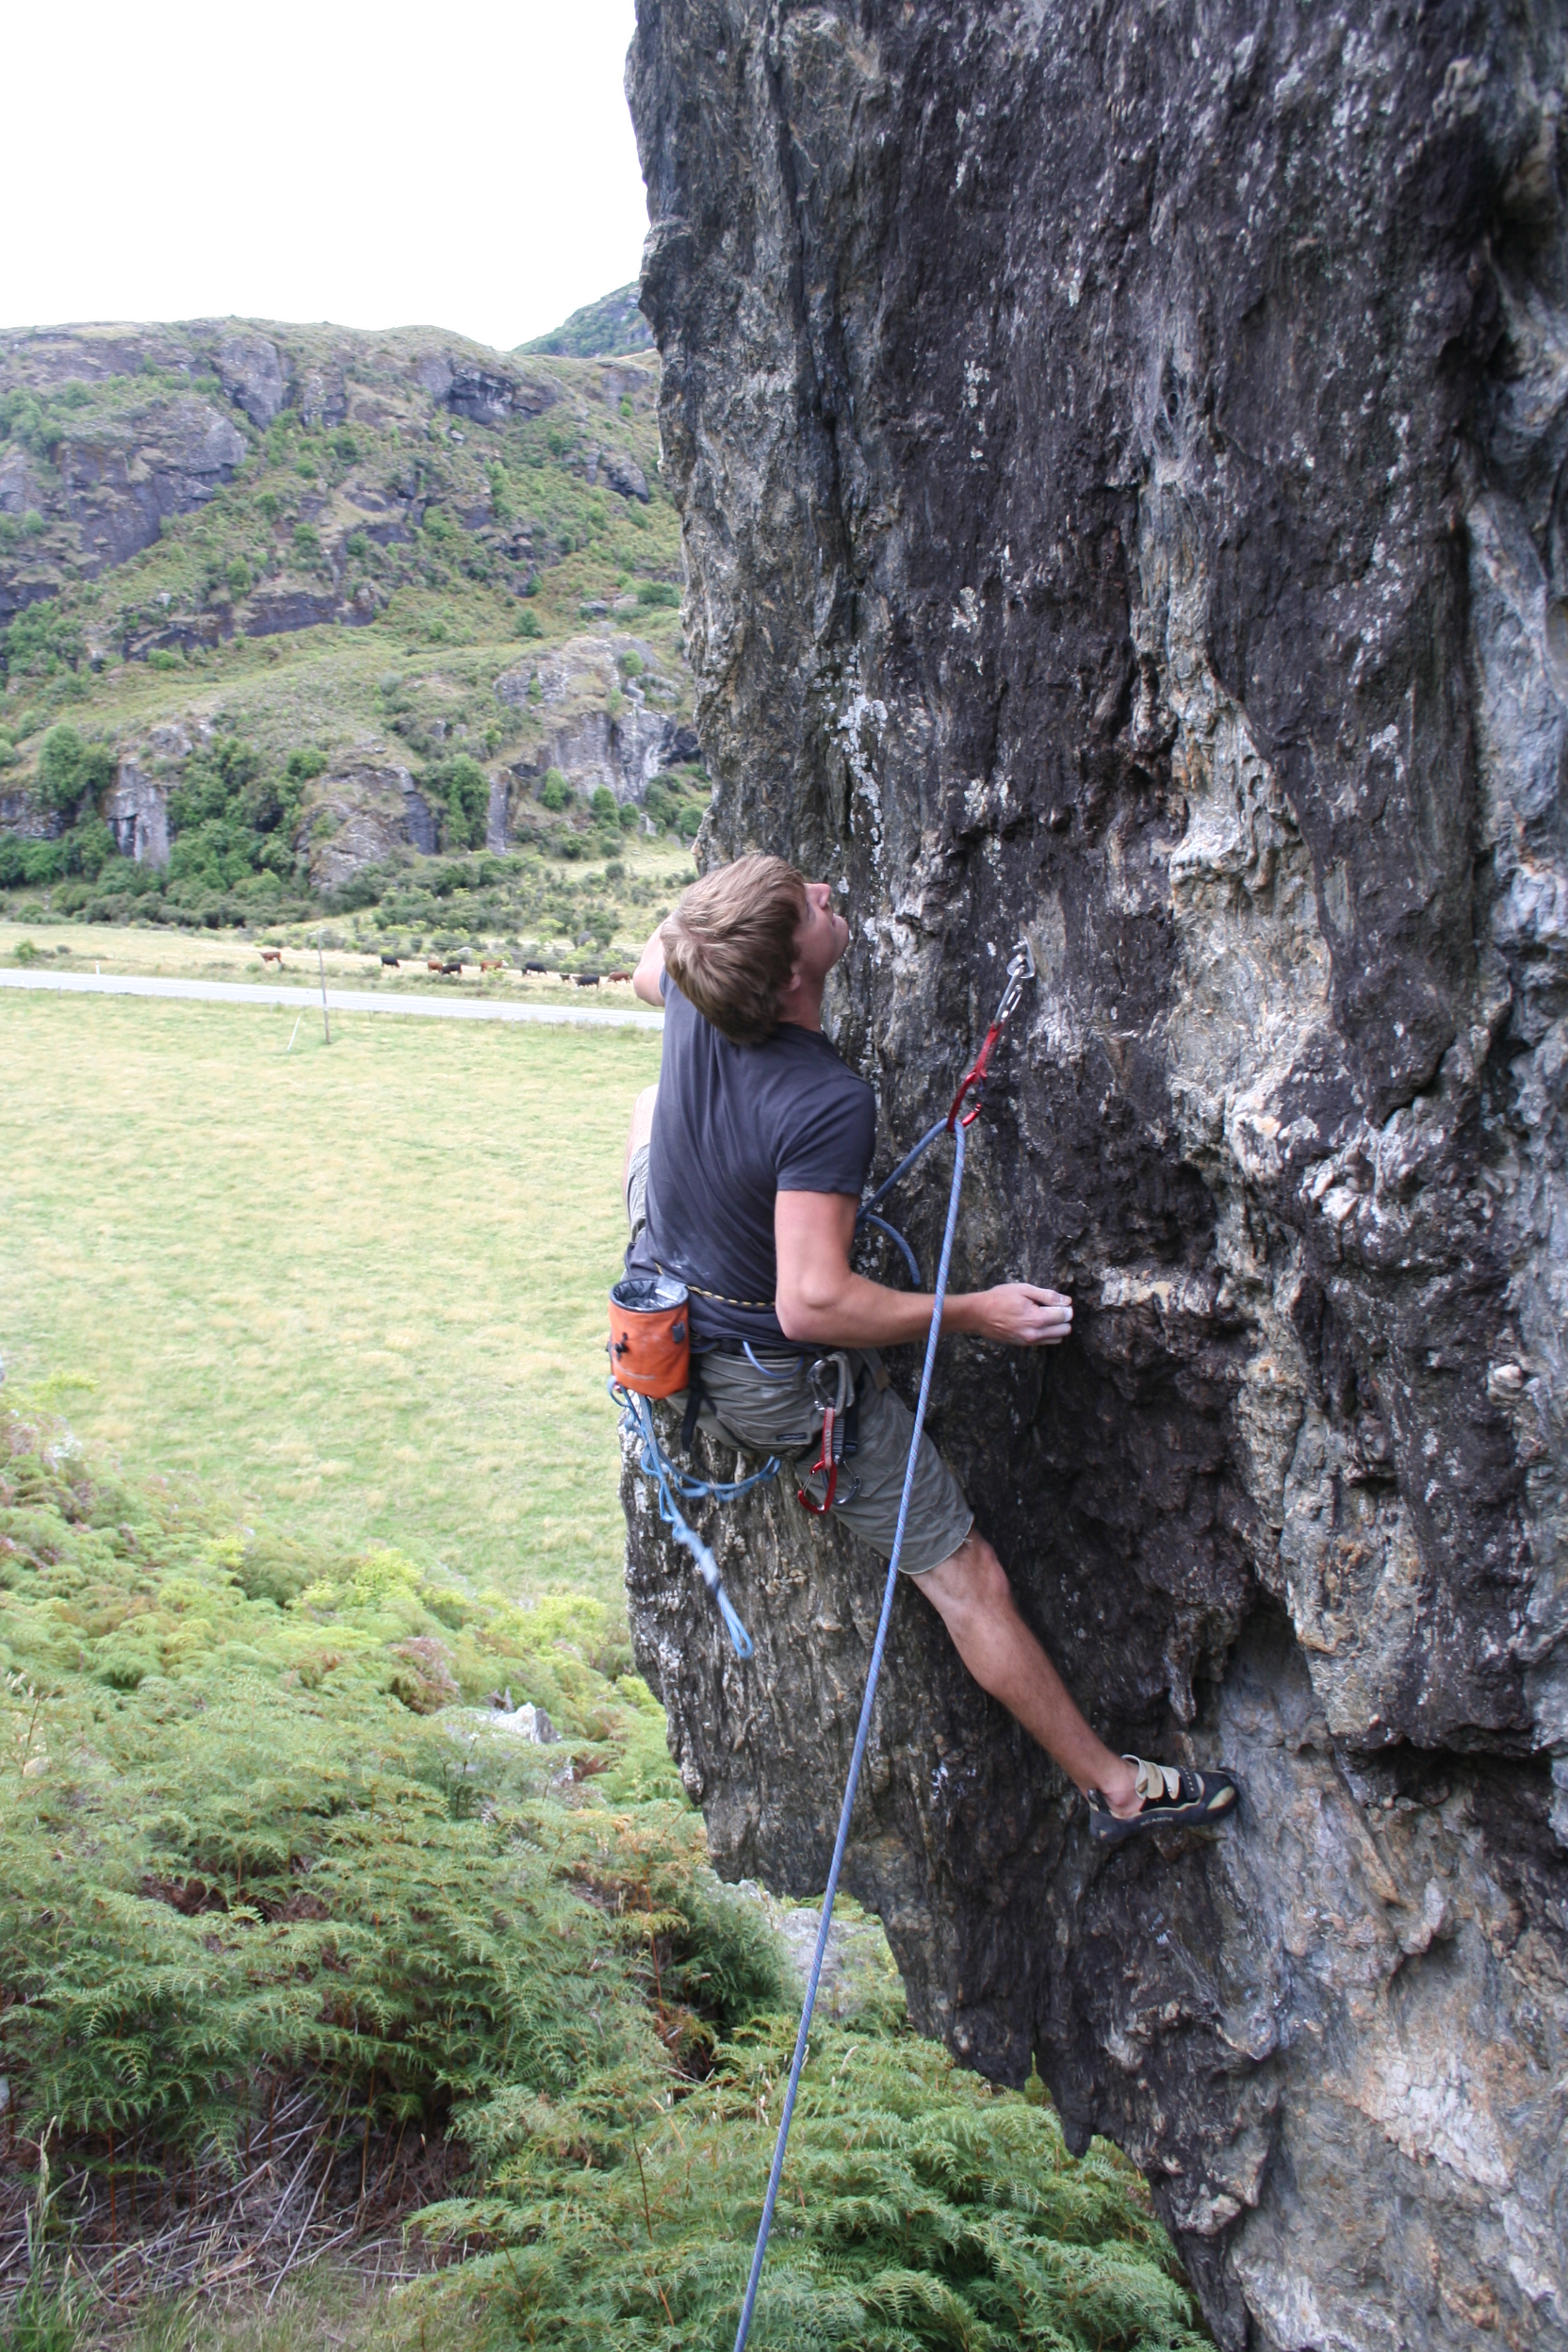
Chappers leading a Sport Climb near Wanaka in New Zealand – note the use of the Daisy Chain – maybe in the past I might have used these but they stay firmly in my Aid Climbing kit now!
So if you’re starting leading, you obviously need a rope! There is an overwhelming choice out there, but all you need is the right length of single rope. I will go into more detail on the different rope types in a later article, but a single rope is one that you use on its own and clip it in to all the protection. It is shown on the rope marker as the number 1 in a circle. If you’re indoor on a wall that is 12 meters high, all you need is double that length, so you can be lowered to the ground from the top, make sense? Ropes usually come in 30m, 50m, 60m and 70m lengths, giving you an idea of the length of route you could do! If you’re just climbing indoors you could get away with a short rope (some walls are pretty big mind!) whereas if you’re thinking of a trip to Kalymnos, a 70 or even 80m might be more appropriate. Check the route length in the guidebook before you set off, a good habit to get into is to tie a knot in the other end of the rope so it cant pass through the belay device if it’s too short..
We clip quick draws onto the bolts, and attach our ropes to these. There are sport climbing specific “draws”, which tend to be beefier (and much heavier), but any draw will do, and I would go for an all round one for other climbing unless you’re going to specialise… Cutting the weight down will make your life easier when it comes to other types of climbing. How long a draw do you need? Short draws are fine for sport, but you’ll occasionally appreciate some longer ones and I’d get a bit of a mix for your progression to trad climbing anyway. We will look at why in a later article, but basically it’s all about rope drag! You will need enough for however many bolts there are on your chosen route. Get 10 and see where to go from there. DMM do an excellent range of each… Check out the pic below of the sneaky reachy draw as well! A great option if you have a grip clip you cant quite reach…
Useful sport climbing quickdraws – note the extra reach gained from the stiffness of the draw on the right.
A few other bits and pieces we need, firstly a couple of screw gate carabiners for clipping at the top if you want to top rope or work the route so we don’t wear out the fixed bolts and lower offs. Some people use 2 quickdraws for this, making sure the gates are opposite. As we are climbing outside, it is prudent to wear a helmet, despite the fact you rarely see sport climbers and the guys in the magazines wearing them. Along side the risk of hitting your head in a fall (sport climbers often get inverted in falls), the tops of many UK sport climbs are tottering piles of choss! Luckily the lower offs are usually placed below these sections! A clip stick is something to think about, reducing the risk of a ground-fall from the first couple of clips, and enabling you to clip your way up a route that you may want to work. I often take an old snapgate or maillon to put on a bolt if I cant get to the top and have to lower off, to save leaving any expensive kit…
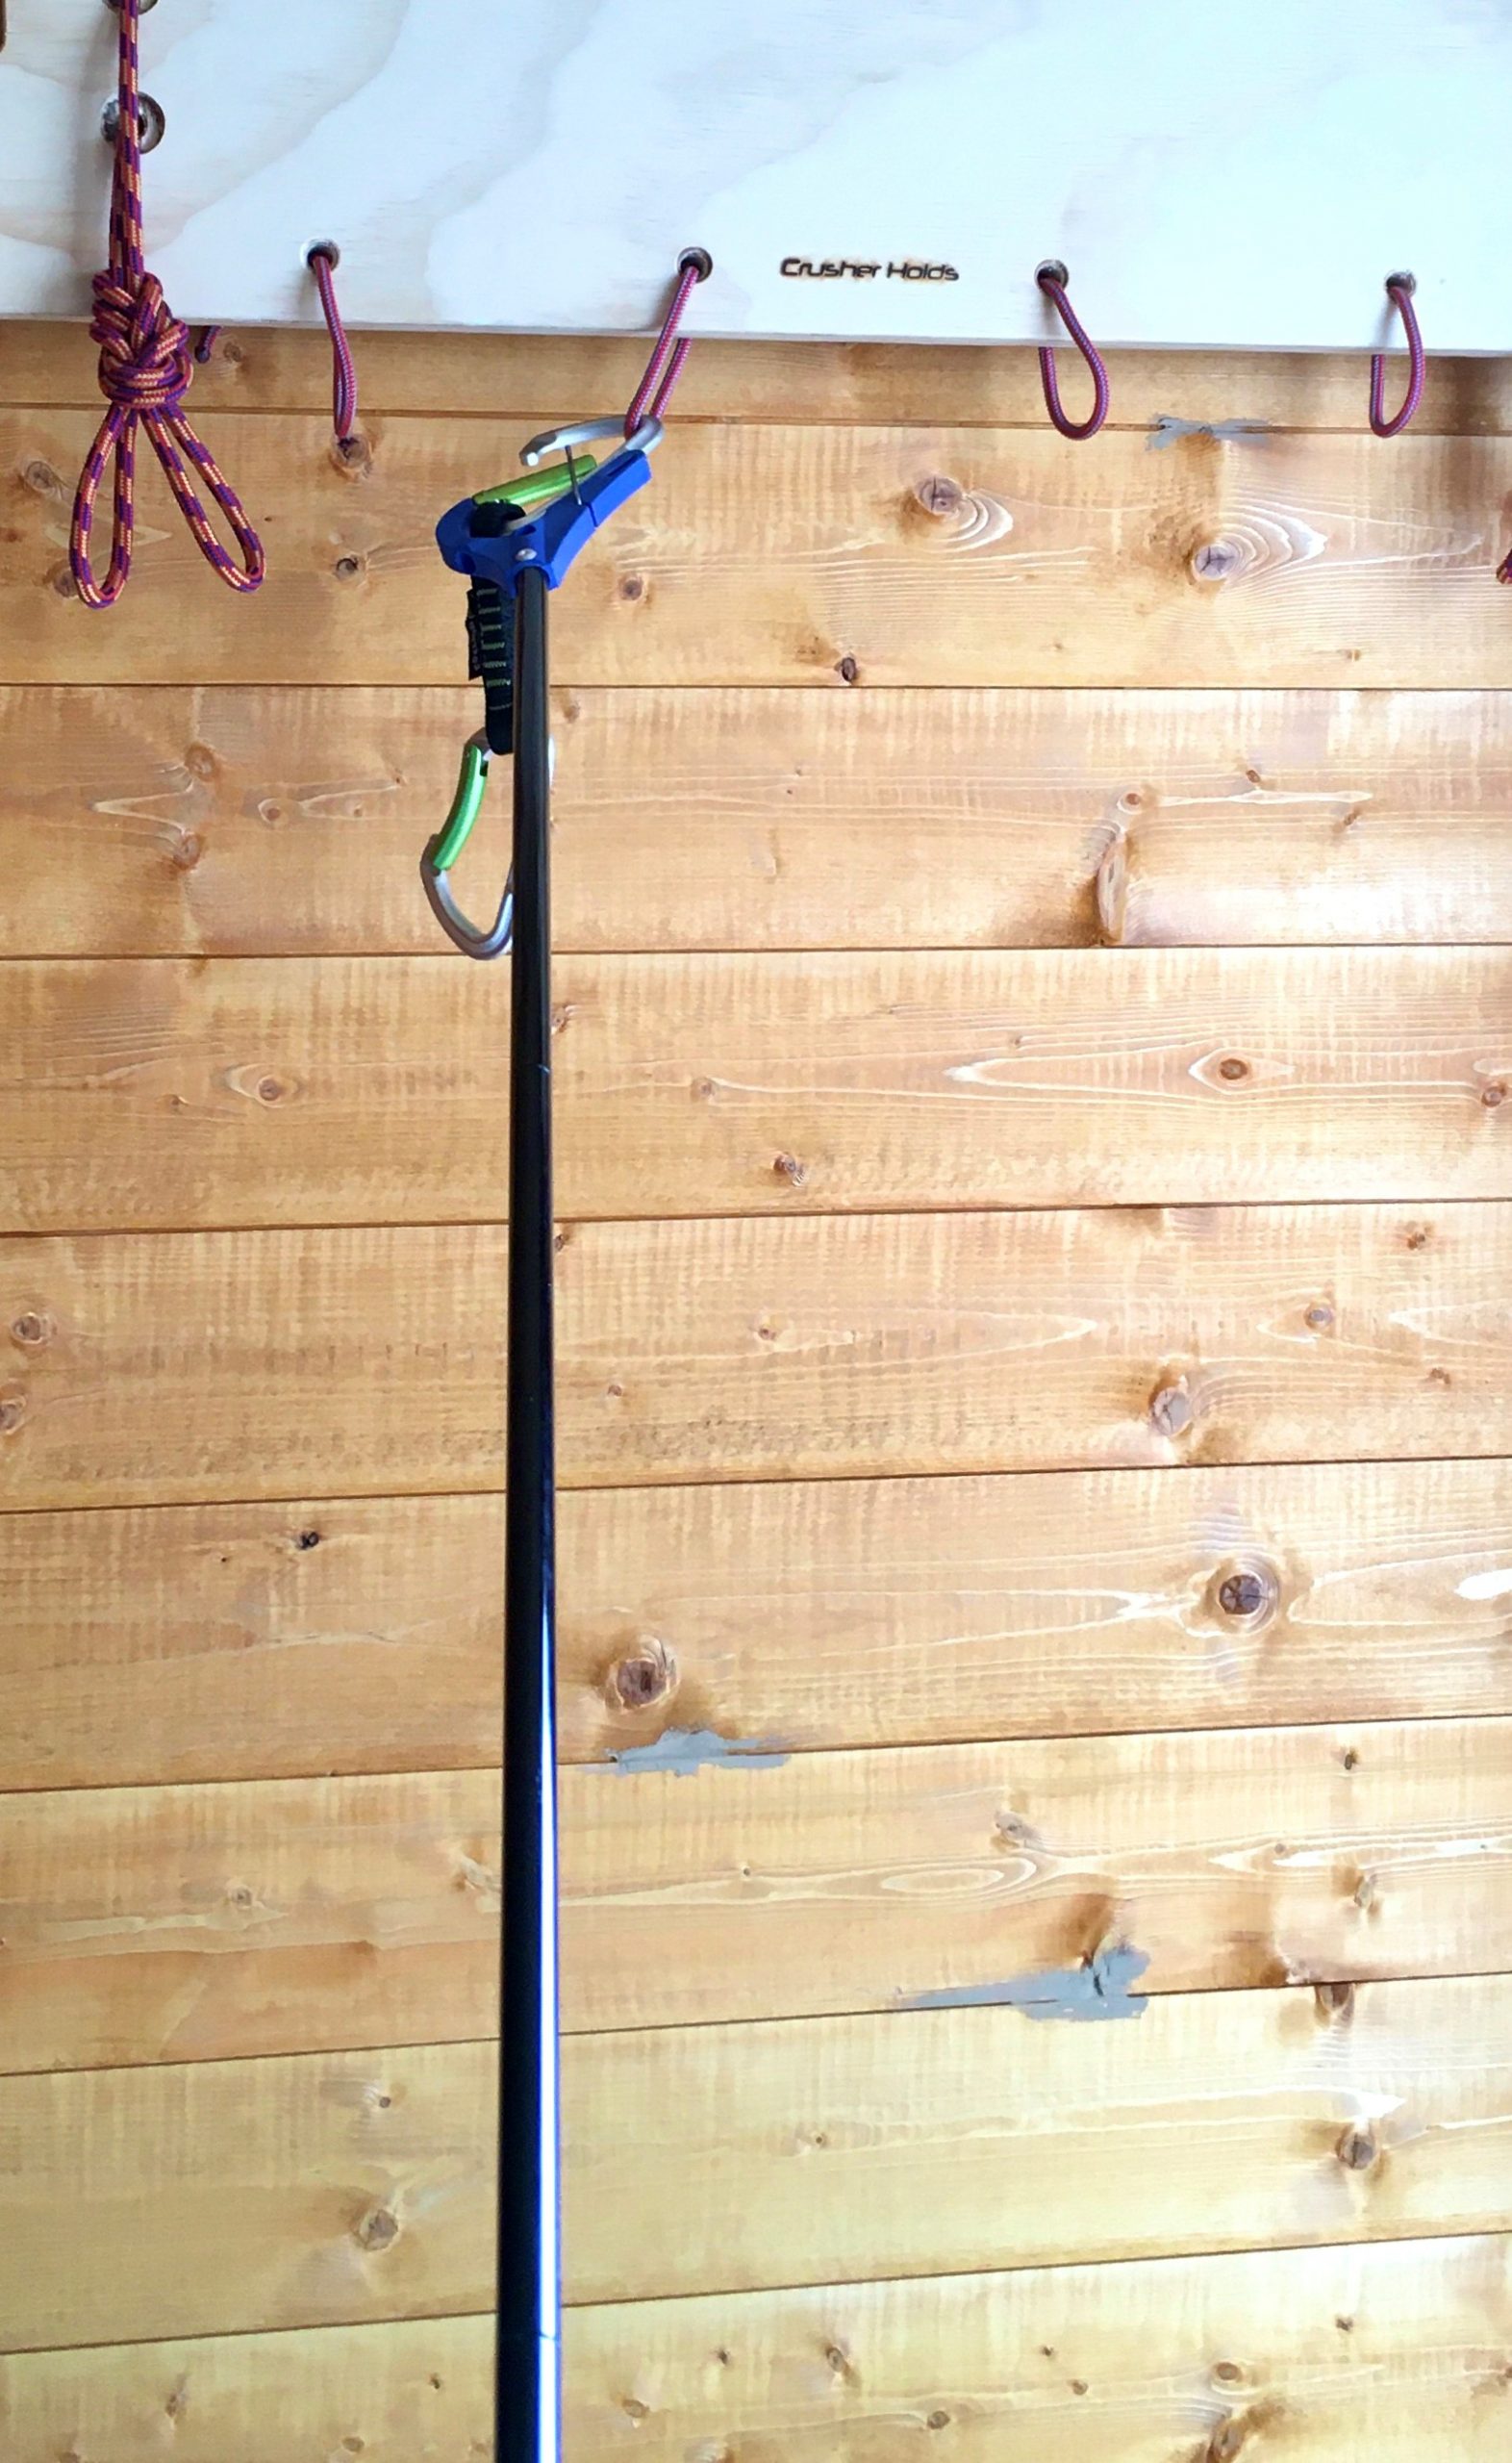
Clip Stick – a vital sport climbing tool!
So there we have it, a whistle stop tour of the kit you might need if you are getting into sport climbing. Sport climbing is easy tov get into – safe-ish, means you get a lot of climbing done in a day (or non at all if you’re working a route!) and there are some amazing destinations both a short haul away and further afield in some exotic locations.. Either way, there’s climbs out there at every grade and amazing adventures to be had, so et the right kit, get the right skills, and have fun!
Drop us a line if you’d like to learnt the skills on the amazing Gower Coast (Pembrokeshire is RUBBISH for Sport Climbing!)
Coaching Sport Climbing in Spain
If you come on a course with us you’ll receive a 15% discount voucher for V12 in Llanberis – one of the best climbing shops going!