Winter Skills
With the first snows of the year having fallen, and ahead of our Winter Skills courses this season, I wanted to write up some of my thoughts on what it takes to get out in the Winter mountains.
To be as safe, efficient and competent a Winter mountaineer as possible requires the coming together of a vast amount of different skills. This article assumes you’re a competent Summer walker/mountaineer already – you can navigate to a good level, make sensible decisions, know what the weather forecast means, and are happy on steeper terrain. The mountain environment and its dangers (and beauties!) in Summer are familiar to you…
Winter Skills Pre-Winter Training
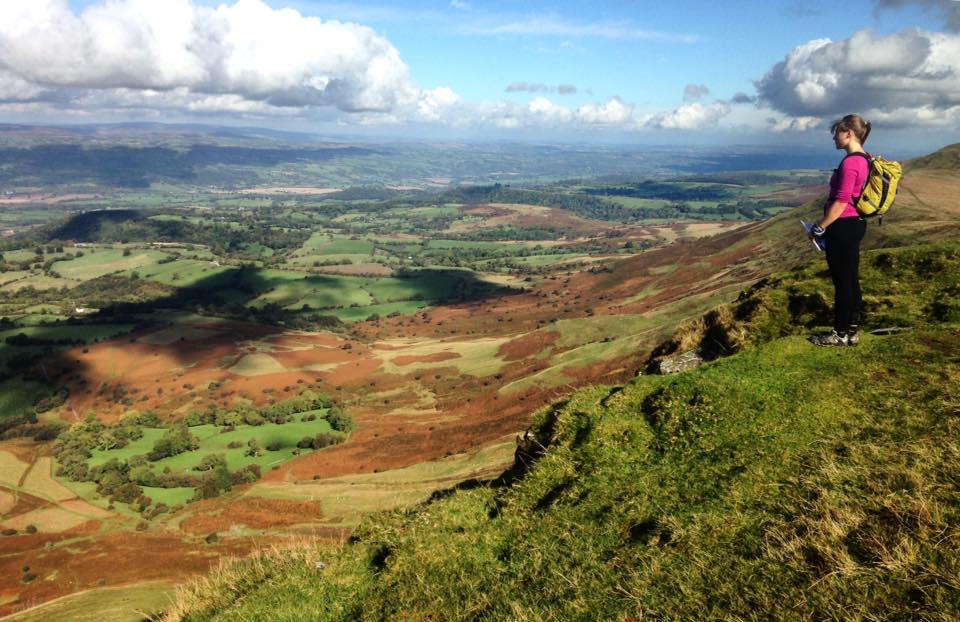
So where to start? Probably now, back in Autumn! Whether you’re a weekend warrior or are going to be spending a prolonged time up in the Winter hills, you are going to need a solid base of fitness. Not only are conditions tougher, you’ll probably be carrying a heavier rucksack, the days will be longer, colder, more mentally and physically draining! You need to have a safety net of strength and fitness for the long days, but also so you can keep a clearer head whilst making key decisions throughout the day. Get into the hills lots, go biking, running or swimming – whatever it takes to get as fit as you possibly can!
Taking a run over Crib Goch in less than ideal conditions – a great bit of pre Winter training..
Winter Kit
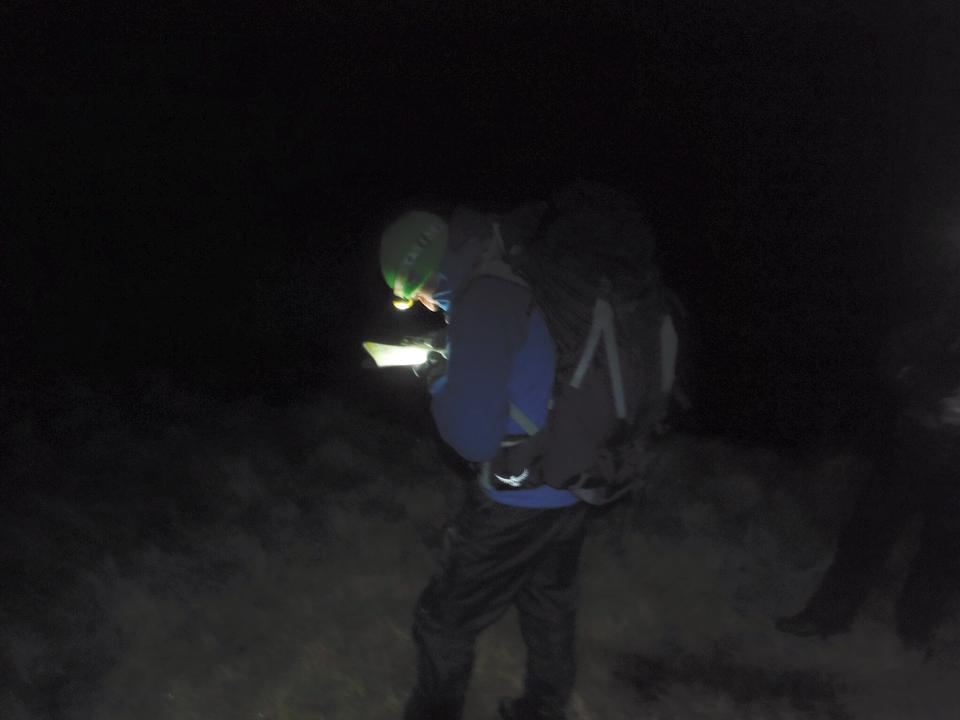
I won’t go into too much detail here as this is a whole topic unto itself, but you’re gonna need some new kit! I’d beef up your summer hillwalking clothing with some extra warm layers, tops and bottoms (merino is awesome, but an extra fleece too – I’d get one with a hood), a duvet jacket (synthetic) is a great idea as well. Check your waterproofs are solid enough (none of this flimsy lightweight summer stuff), and have a decent hood, but also that they’ll fit all the warm layers underneath! Get a couple (ideally more!) of pairs of really decent gloves (they’ll never be waterproof despite what they say!), and as well as a warm hat, consider a balaclava/buff for those really cold snowy days… You’re going to need snow goggles (maybe sunglasses occasionally!), and a decent thermos flask! If you don’t take one out in summer (you should!), you’ll need to get a survival shelter (bothy bag) and a survival bag (blizzard bag). As you will be starting and perhaps finishing in the dark, a good head-torch is a must. Spare batteries or ideally a spare head-torch should accompany you too.
Now the fun stuff! Spiky things and boots! This is stuff you could hire if it’s a first trip to see if you get the winter mountaineering bug. Try on as many different boots as possible before committing. If you’re walking/mountaineering then maybe B2s are the way forward, but if you are a climber already I’d say go for fully stiff B3s. I find my B2s pretty comfy for year round use, and they’re amazing for scrambling. The extra stiffness does take some getting used to, but you’ll be walking easy in no time! You’ll need to get crampons to fit the boots, and axes and crampons to suit the sort of stuff you want to do, whether it’s walking, mountaineering or climbing. As soon as you stick this spiky stuff on and are in steeper terrain, a helmet is a very sensible idea, even if you’re just walking..
Here’s a link to a more detailed kit list that we send out to clients on any of our Winter Skills Courses… WINTER SKILLS KIT LIST…
Safe Winter Movement
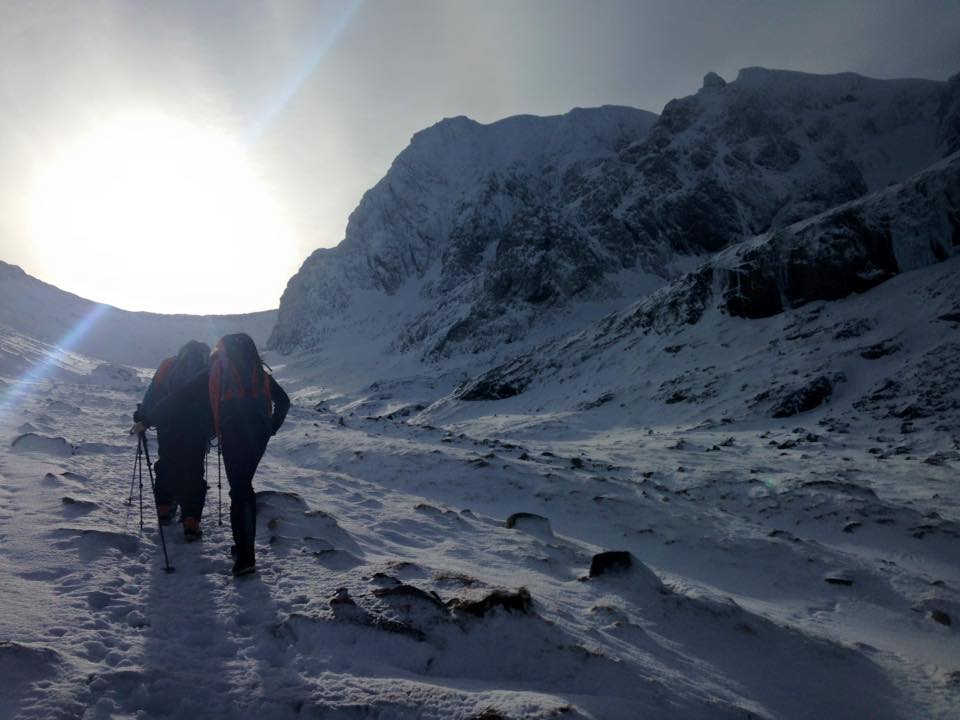
With both the addition of new kit and a new environment, it’s important to re-visit our movement skills. It might seem silly, but we almost need to relearn to walk! Snow and ice, crampons, ice-axes and stiff boots all take some getting used to and some practice to use safely and efficiently. Before we get to steeper or icier terrain, it’s important to get used to walking in a stiffer boot, and using it as a tool to kick steps efficiently, up, down and across slopes of varying types of snow. The stiffness and the saw like action of the rough sole of the boot is amazing at slicing through hard snow – provided it’s done correctly! While guiding in the Himalaya recently I saw someone in another group very nearly die because they didn’t have these basic skill (and had taken their crampons off too early).
Using an ice axe and crampons
We might choose to use an ice-axe before we put crampons on if the snow is soft. It’s there to give us some stability on steeper ground, but also to stop a slip or trip becoming an actual fall. We keep it in the uphill hand, and plunge it into the snow as we walk. Essentially, should we slip, we fall down onto the head of the axe and grab it low down, ensuring it plunges deep into the snow (it is a fine art to do properly…). We call this a self belay. Should we fail at this and keep going, the axe can be used to self arrest. Practise this skill loads in a safe environment, better yet get some coaching on it, but know that your realistic chances of making a self arrest in anger are pretty slim – so don’t fall over in the first place!

Careful footwork and using the ice-axe are pretty important skills here! On Stob Coire Nan Lochan during a Winter Skills Course
The real skill with crampons is knowing when to put them on, before it’s too late, and with gloves on in horrific weather! I like to think: 1. will it be safer? and 2. will it be more efficient? If yes – get em’ on! After that it’s to not trip over or catch your trousers on them! Moving over snow is fairly straightforward, but ice and especially rock are initially, totally alien. With care and attention, moving at a slow pace, being very precise and delicate, you’ll soon get the hang of it.
You’ll get the basics dialled quickly and soon have enough confidence to get out and up those mountains – but all the above skills do take a long while to master, and are well worth learning and developing on a Winter Skills Course…
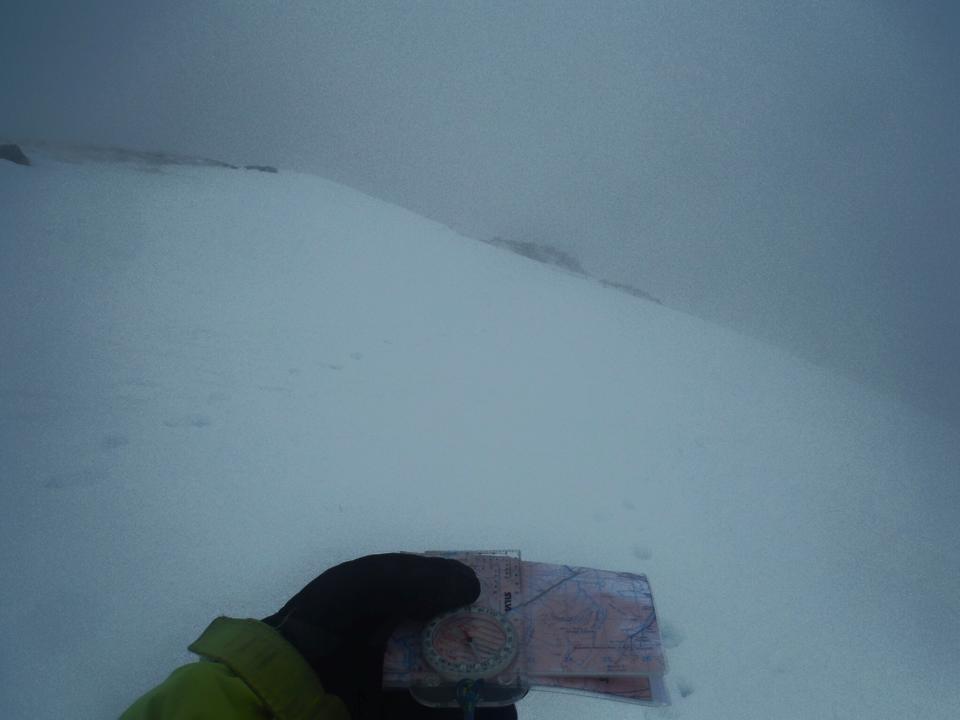
Winter Navigation
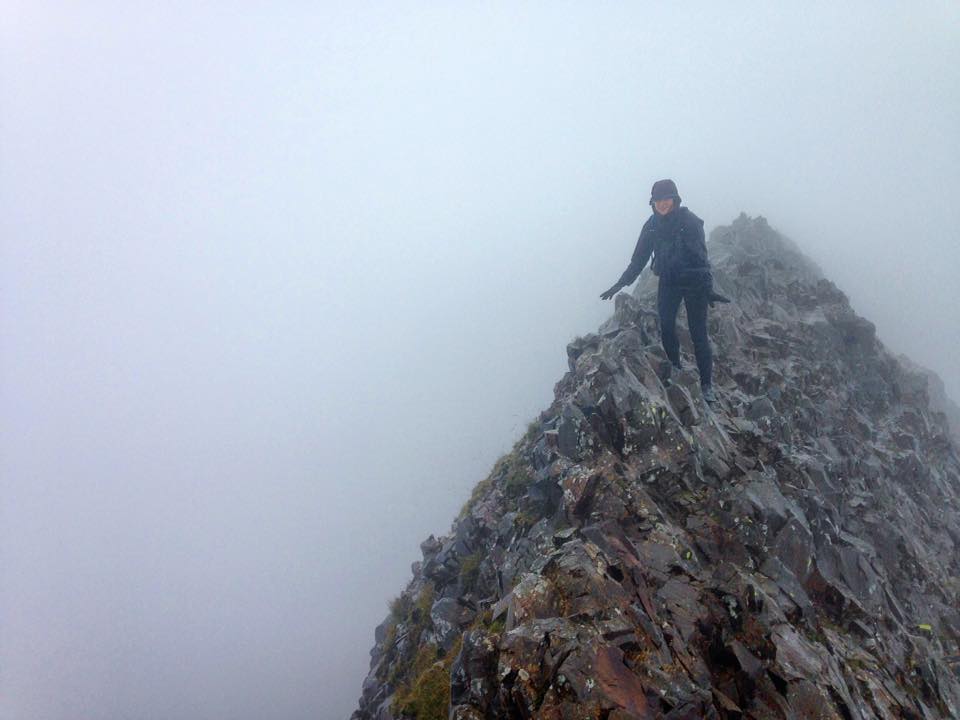
We’re assuming you have a good foundation in navigation skills from the summer. Check out our “Navigation Skills” article if you’re unsure… These skills are all totally relevant still, they just need to be winterised. Imagine the features on your map covered in snow. The small rivers and streams, contour features such as re-entrants and even small crags, can fill in and be covered up. Steep edges develop cornices (more on that later!) and everything just looks white! You likely wont be able to see any footpaths once above the snowline, and even during the daytime visibility can be worse than zero! Imagine a world where you can’t tell the difference between the sky and the ground, even the air looks like what’s under your feet. Welcome to “The White Room”…
The White Room – the ground, the sky, the air – it all looks the same. Your Navigation Skills need to be STRONG in Winter!
Maps
So what’s new with the Navigation then? Well it’s a good idea to get used to a 1:50,000 map or Harveys Map instead of the often used 1:25,000. The reason for this is that as they have less detail, specifically the contours and little streams, they more accurately match what you’ll see on the snow covered ground. They are particularly good in Scotland where the hills are so vast and often complex/rocky; less detail means it’s actually easier to see what’s going on!
Compass skills
Your bearings and pacing will need to be bang on and you need to be able to do this in potentially horrific conditions with big thick gloves on.. Top Tips for bearings – It can be super disorientating the first (or even 100th!) time you walk on a bearing in a white out as you have no frame of reference, as the sky, the air and the ground all blend together as one. Go and practise with a mate, take your time, be accurate and check each other, maybe back yourself up with a GPS/phone app, give yourself plenty of leeway from danger. There is no harm in using a GPS, but the batteries will die quickly in the cold so strong map and compass skills are essential.
If you’re struggling to see the ground, throwing snowballs in-front or sending a mate ahead if the terrain is safe can give you that frame of reference and can be a feature to aim for… Stay WELL away from any edges that are corniced (wind blown overhangs of snow).
Some new skills are useful, such as “Aspect of slope”, and some are vital. To be able to “Box” and “Dog Leg” around dangerous corniced mountain edges, or around avalanche threatened slopes or terrain traps, is mandatory. These are all skills you may already be familiar with, just putting them into a different context. It may even pay to write important bearings down on your waterproof map in Sharpie pen in the comfort of your home, before needing them for real! With all these navigation skills, they key is to get out and practice them in the good weather, where there is little consequence of messing up, and getting it all dialled before you need it for real in a 70mph storm on the top of Ben Nevis as it starts to go dark at 5pm one February afternoon at the end of a 12 hour day…
Avalanche Awareness and Avoidance
You’re not going to become an avalanche expert overnight, but fortunately for us, the excellent Scottish Avalanche Information Service (SAIS), have forecasters who go out in the winter and make predictions based on their vast knowledge. Their forecasts have loads of detail in written form, and one fantastic tool for any winter mountaineer is their avalanche compass rose:

SAIS Avalanche forecast compass rose – check out their website for more detail on what the different colours mean.
To find out exactly what the colours mean, check out their website (or go on a winter skills/avalanche awareness course!), but it gives you a good picture of what may be happening when you’re planning your day. If we take the heights and aspects of the forecast and apply it to our map, we can see potential danger areas for the day, and where might be best avoided. That being said, it is only a forecast so can in reality be different due to weather changes, so we still need to be able to make our own sensible decisions on the hill and apply a little bit of knowledge to the situation. Check out the SAIS Be Avalanche Aware process on their website for lots more info.
What causes Avalanches?
When new snow falls on other surfaces, different layers form. It might be that the snowpack got warm and moist before re-freezing, so the snow formed really hard, then maybe we have some fresh snowfall on top when a storm blows through. There is a difference in the hardness of these layers, and it is these layers and their differences and how they interact with each other that can create avalanche conditions – clearly there is WAY more to it than that!
Most of our avalanches in the UK are “slab” avalanches, created by windblown snow that forms in slabs as opposed to soft fluffy snow, so that when an avalanche is triggered, a large area can go all at once as one big slab. As this is created by the wind blowing snow around, it doesn’t even currently have to be snowing for avalanche conditions to occur! We are however more likely to get avalanche conditions within 48 hours of snowfall..
The vast majority of people (90%!) caught in avalanches in the UK have triggered the avalanche themselves. An avalanche needs a trigger to release. This could be the weight of a walker or skier on the surface, a cornice collapsing onto the slope, a change in temperature, rain etc… The list goes on! The snow needs to contain enough power for propagation to occur, so its not all doom and gloom with every slope avalanching!
If the wind is blowing South Westerly, the North Easterly slopes will likely have Cornices. They can form huge overhanging turrets of solid snow and ice, and make you think you are walking on solid ground, where in fact you could be above a massive drop. Needless to say, we want to stay away from these! Look at the wind direction, apply this to your map, and stay well away from them!
Alongside these Cornices, we need to be aware of other “Terrain Traps”. These are seemingly innocuous areas that may be threatened from elsewhere, such as a slope above us or a cliff below, or being in a flat river bed or ravine/gully with slopes above us. We can look at our map and pick these out, but be very aware when on foot for anything that might put us in danger.
Further reading on Avalanches
There is so much information on snow-science and avalanche knowledge that I won’t go into it now. If you want to develop your knowledge further one excellent book is “Avalanche Essentials” by Bruce Tremper, and Avalanche Geeks run industry leading courses on the subject.
The avalanche forecasts are based on previous, current, and forecast weather, previous snow conditions, alongside loads of knowledge and experience. We need to remember that the weather can change from forecast, so the avalanche forecast can change from what is expected. Imagine that the forecast was based on the wind blowing from the west and there was loads of snow lying around, but during the day you noticed the wind blowing hard from the east. The snow will be blown somewhere different to what the forecast was based on. What if the temperature rose suddenly during the day against expectation? That wouldn’t be good for the snow pack would it?! We need to take the forecasts, but also apply what we see on the hill during the day, and not ignore the signs that are right in front of us. This sort of observation and decision making is detailed in the Be Avalanche Aware stuff from the SAIS.
We can try to travel in safe areas, but eventually, as winter mountaineers, we may end up in an area where we are at risk. Don’t be afraid to change plans or turn back. Navigate round the danger. Don’t fall into one of the many human error brain farts (heuristic traps), such as “those guys went up there and it didn’t avalanche” or “the forecast didn’t say it would be like this” etc… Ultimately, we want to be able to go out in the hills again, so stay safe and remember – sometimes it’s just a café day!
Winter Survival Skills
Should things not go to plan and either you can’t navigate back to safety or perhaps for whatever reason you end up having to spend an unplanned night out on the hill, you’ll need to have some idea of how to survive the night… Firstly, you need to really consider the situation. It is almost always better to just keep walking if you’re able to navigate to safety. A night out in the Scottish winter with no proper sleeping kit is gong to be grim at best, with hypothermia, frostbite or much worse a real likelihood. Get low, get out of the weather, find a proper bothy if you can. Hopefully you’re carrying the all important survival bag and group shelter. They WILL save your life in this situation.
Try and keep yourself dry, loosen tight boots, sit on your rucksack to insulate yourself from the ground, if you’ve got dry clothes put them on. Eat as much as you can and make a warm drink if possible. You may need to get up periodically and run around to warm up. If you’re above the snow-line you will need know how to dig emergency shelters with your ice-axe (much easier with a snow shovel if you have one!), which is super hard work, tiring and sweaty. It’ll be a bad night, but at least with a little bit of knowledge, you might just survive it…
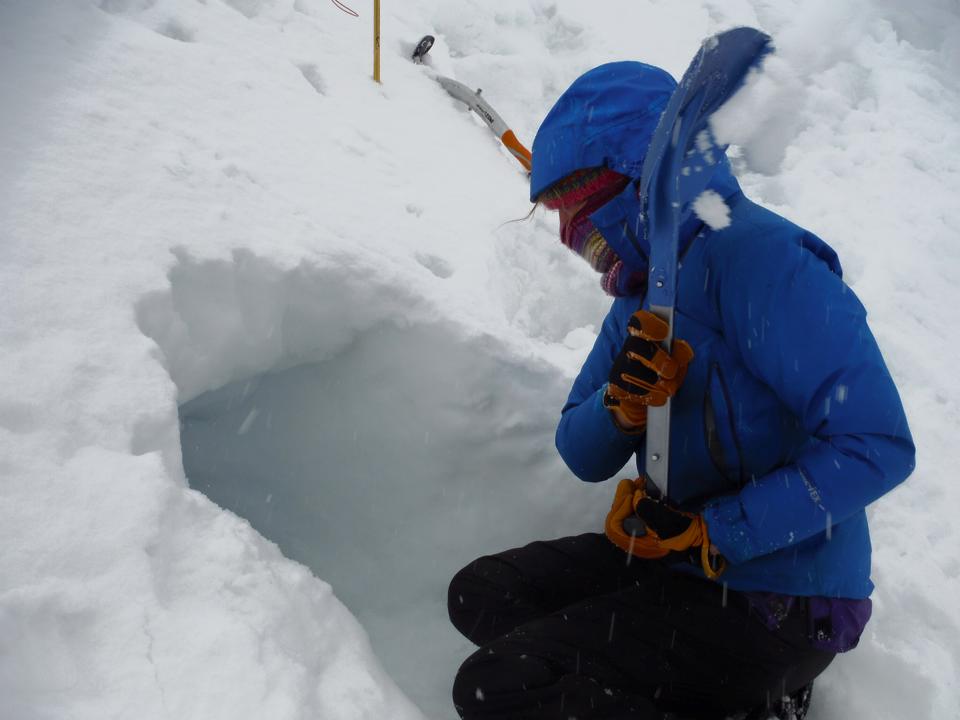
Digging an emergency shelter in the snow
Scottish Winter Mountaineering is Amazing!
There’s loads of skills to learn, practise and perfect, and along the way you’ll have some awesome adventures, no doubt a few epics, and some memorable experiences that will stick with you far longer than many other memories… Stay safe and enjoy it!
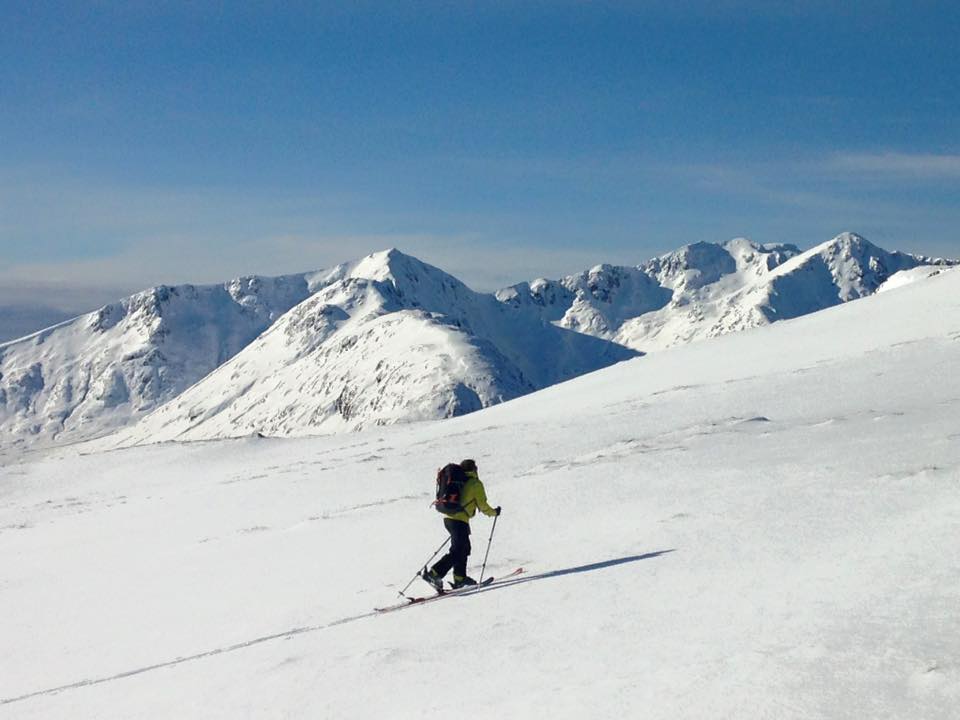
A perfect Scottish day – Ski-Touring above Glencoe..
Why use The Climbing Company for a Winter Skills Course?
Holding the Mountaineering and Climbing Instructor award and the Winter Mountain Leader Award, I hold 2 of the UK’s highest possible qualifications in Mountain-based activities. You are assured of the best, most professional coaching, leadership and guiding on any day (or night!) out with us. Having put the hard work into gaining the necessary skills, travelling all over the world to work, climb and mountaineer, I have a great in-depth knowledge on the subject and a brain full of hints and tips to pass on to you!
Find out more details about our Winter Skills Courses here…